Auckland Shower Installers
If you’re having a new bathroom built or are renovating an existing bathroom, you may be wondering if it’s possible to do the shower installation yourself. Home improvement stores sell a large range of shower units and related components, so it’s no wonder that many home owners look into doing this work themselves.
Our Auckland shower installers are here to guide you through the process and provide you with a robust strategy so you can make an informed decision about shower installation.

We look at the overall shower design
Regardless of whether there is an existing shower or not, our shower installers always strive for the best shower design and position within the bathroom. We’ll present options wherever possible, and work with you to find the best solution for your budget.
Our considerations towards the shower placement and design:
- Location of existing plumbing and drainage systems
- Where natural light is coming from
- Placement of the other bathroom fixtures and appliances
- How we can ensure the best privacy for the shower and toileting areas
- Number of people using the shower
- Ventilation of the bathroom
- Space available for drying off and a towel rail
- Size of the shower you’d like and the type of door
- Whether the bathroom has a bathtub
Long gone are the days when people would just fit a square shower in a corner. We now have so many more options, so it’s important to review how the shower will function and look in the bathroom as a whole.
Our Approach to Installing a New Shower
If there’s no existing shower…
The first thing we do is look at whether you’re installing a new shower in a bathroom that doesn’t already have one. If that’s the case, we look at your current bathroom design and help you decide where the best place for the new shower is.
Is there an obvious place, such as an unoccupied part of the bathroom? Or is there something you’re removing to make room for the new shower (such as a bathtub, bidet, or cabinetry)?
If there is an existing shower that needs to be removed…
Your bathroom may have an existing shower that you’d like to remove and replace, perhaps because it’s old, damaged, leaking, not the right size or shape, etc.
If that’s the case, we’ll first consult with you on whether you’d like the new shower put in the same spot. This might be a good opportunity to reconsider the entire layout of the room and move things around if it’s not currently working as you’d like.
If you do want to keep the location of the shower the same, we’ll remove the old one with this in mind. Depending on the state of the old shower and what you want changed, we may be able to make use of the existing footprint. The waterproofing layer beneath the shower floor may still be intact, so we’ll look first at installing a new shower that has the same dimensions and location of the drain.
If you’re not changing the overall size of the shower, we may be able to remove the old one with minimal affect on the surrounding flooring. If you are choosing a larger shower or a different shape, we can advise on what needs to be done with the existing waterproofing layer and the existing flooring in your bathroom.
There are quite a lot of inter-related components in a bathroom, so we’ll trying to install or replace a shower with minimum impact on the other aspects (such as flooring, tiling, plumbing) and keeping additional costs under control.
Preparing The Bathroom For Your Shower Installation
Once we know which shower and components you’d like to install, our team begins preparing the area for installation. If we need to remove an existing shower, we’ll do this – either keeping the existing plumbing and drainage components, or replacing these as needed.
If you’re moving the shower location from an old shower, we can help project manage the work that needs to be done in the old space (you many need to get a tiler, flooring company or builder in).
In the space where the new shower is going, we’ll either waterproof the area if there was no existing shower, or we’ll check whether existing waterproofing membrane is still intact.
This is an area that can be quite intimidating to the average DIYer. Waterproof membranes are essential and must be installed correctly. The extent of the waterproofing depends on the size and shape of the shower, and what type of surface lies beneath.
We strongly recommend having an experienced bathroom designer or plumbing company like Laser Plumbing do this work for you.
Please note, if you’re installing a wet area shower, this will require a building consent.
Shower Accessories & Other considerations
Shower size and shape
While we’re looking for the best spot for the shower, we discuss a few options with you about its size and shape. We have experience installing a wide range of showers:
- single, square
- single, rectangle
- double, rectangle
- corner, square
- corner, curved
- alcove
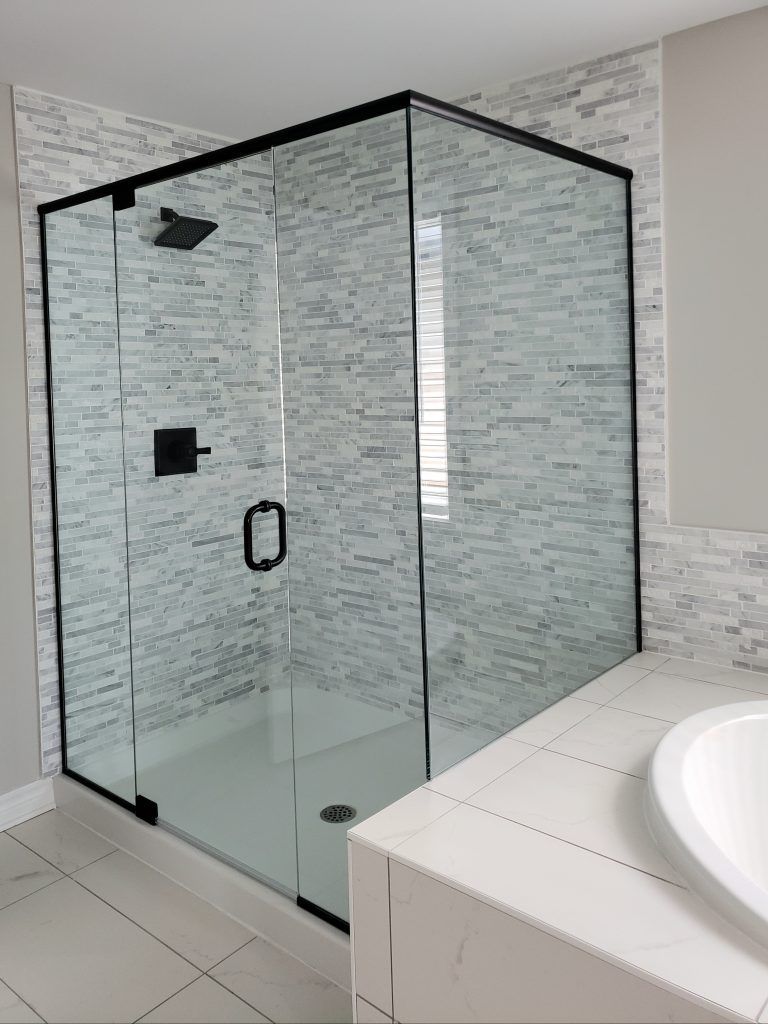
- wet area shower
Shower door(s)
We’ll look at the space available for your shower and for its door to open and see what option will work best:
- single hinged shower door
- single or double sliding
- bi-fold
- semi-frameless shower return
- tiled half-wall
Shower fixtures and accessories
There are many components to select, and we can source these from our suppliers at good prices for you:
- shower heads
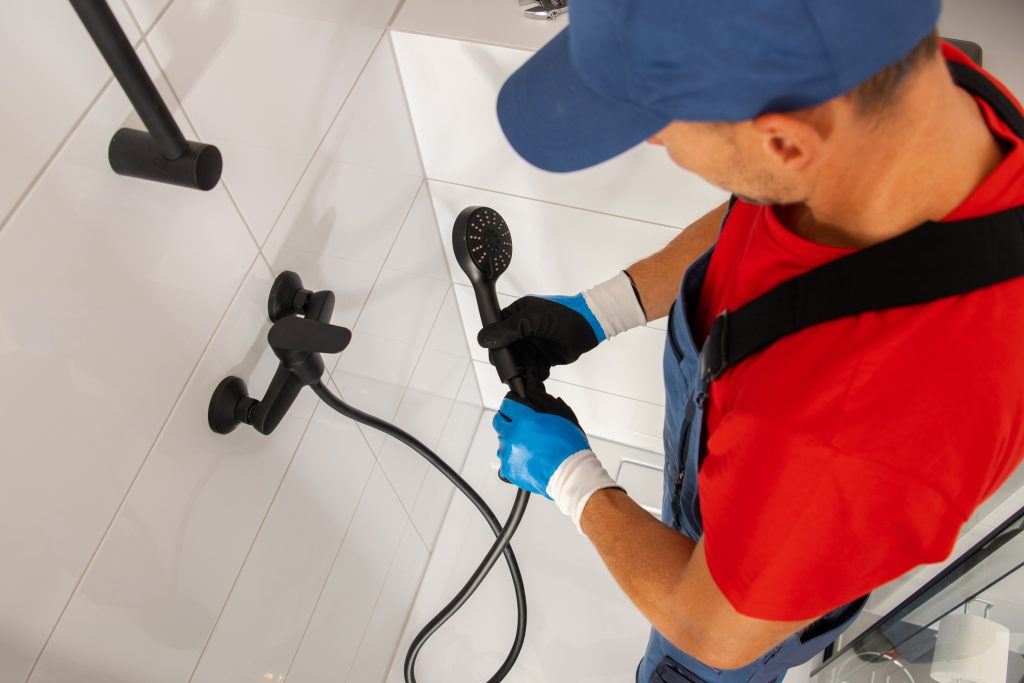
- shower handsets
- shower mixer
- tapware colours – chrome, black, brass, etc
- shower tray – acrylic, tile, etc
- assistance/hand rails
- inset shelves/niches/soap trays

Installing The Shower
It’s now time to install the shower. What this entails is all of the details that need to come together once the area is waterproofed. These details will depend on the type of shower you select and what you select for the walls and floor of the shower area.
Laser Plumbing can manage all of these installation steps – everything from fitting the shower head and mixer and connecting it all to the plumbing, right through to tiling, shower flooring and installation of the doors.
We’ll work alongside the electrician who will look after the ventilation and any other electrical work that is needed. This might include new lighting over the shower, a heated towel rail, underfloor heating.
There are several steps to consider when installing a new shower or replacing an old one. It’s important to have someone who can line up all the different stages and liaise with the different tradespeople needed, if you need the help of an electrician, tiler, window glazier or flooring expert.
The experienced team at Laser Plumbing can manage all of this for you, so you can rest easy knowing that your shower will be installed properly and safely for you to enjoy for years.
Frequently Asked Questions
Grab bars in showers should be installed on the wall adjacent to the shower entrance, on the wall opposite the shower entrance, and on the wall opposite the shower head.
They should be installed at an approximate height of 85 to 91 cm from above the shower floor and should be securely anchored to the wall studs. Our shower installers also recommend placing a grab bar in the corner of the shower to provide extra support.
However, its important to remember that each shower design is different which is why having a bathroom plumber inspecting your shower would be the safest option to know exactly where to install grab bars.
It is hard to provide a concrete figure for the cost of installing a shower in Auckland without detailed information about the bathroom, materials needed, creative preference and the project requirements.
The cost of a shower installation depends on several key factors such as the type of shower being installed (e.g. walk-in, corner, etc.), the materials being used (e.g. tile, acrylic, etc.), and any additional features (e.g. multiple shower heads, built-in seating, etc.).
Additionally, the labor costs of our shower installers in Auckland can vary depending on the above factors, and the level of complexity of the project. It’s best to consult with our team first to get an estimate of total costs.
It depends on the type of paint used and the conditions of the bathroom and walls under which it was applied. Latex paint roughly takes about 24 hours to dry and cure, so you can probably shower after that time.
Oil-based paint will take longer to dry, usually about 24 to 48 hours. However, it may be best to refer to the paint manufacturers guidelines for specific drying and curing times.
Remember to properly ventilate the bathroom by opening up windows or using a fan as this will maintain a cool temperature and steady humidity levels during the drying process to ensure proper curing.


